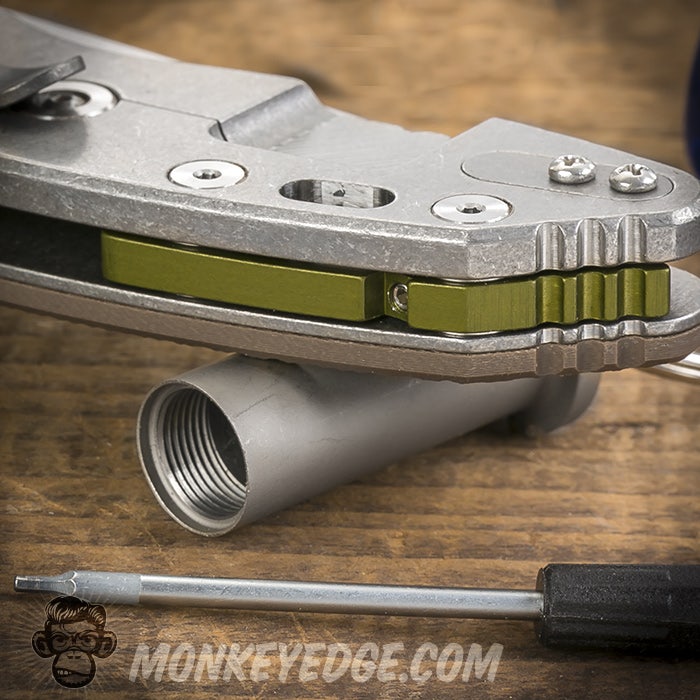
Hinderer Knives innovated the concept of the user configurable knife with the legendary XM-18 folder. When the new Hinderer MP-1 folder made its debut people took notice how Rick and the gang were taking the configuration concept to the next level with the introduction of the Hinderer Modular Backspacer System (HMBS). While this article focuses on the HMBS, it can be used as a general guidline for most Hinderer folder models. The HMBS allowed the user to change out the backspacer of their knife without even taking the knife apart. Just loosen a set screw, and swap it out. Different materials, colors, and even functions are soon to come.
Well, seeing as how the XM-18 is one of the most successful folders of all time, Rick created a retrofit kit that would allow the user to convert their XM-18 to HMBS. The kit comes with all the hardware you need to perform the conversion and an aluminum backspacer of your color choice. It is super easy to install, so we thought we would give you a quick run-down.
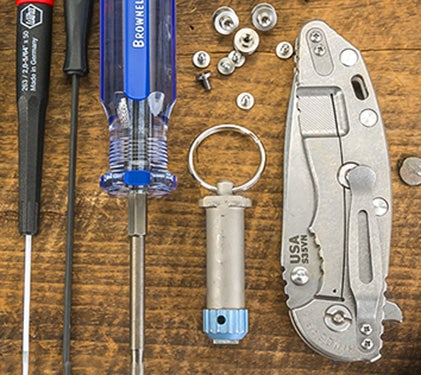
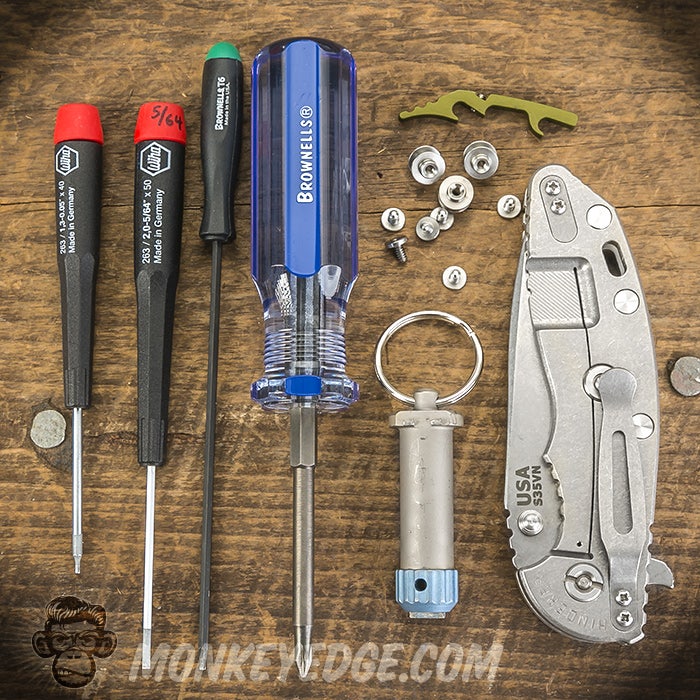
Not to go on a rant, but all tools are not created equal (although you probably know that seeing as how you bought a Hinderer knife). So get decent drivers. When you see a bit set at a big box hardware store with 145 bits and it costs $19.99 you are not getting top shelf quality. Don’t bugger up your knife screws with cheap, poorly fitting, tools! German Wiha tools or quality US made tools from Brownells are our choice here at Monkey Edge HQ.
- 5/64 hex (allen) driver - For the standard scale screws
- T6 Torx Driver - For the scale screws in the HMBS kit
- .050 in hex (allen) driver - For the HMBS backspacer set screw (a regular “L” shaped key is included with kit)
- #1 Phillips head driver - For the clip and filler tab screws
- Hinderer XM-18 Armorers Kit - For the pivot. While you can make your own spanner driver, the Armorers Kit makes everything nice and easy.
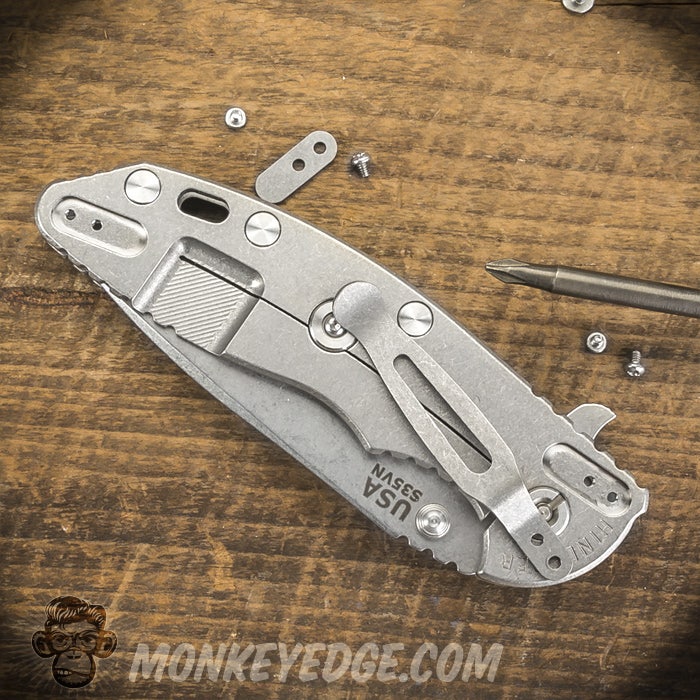
Remove the clip and filler tab. While this is not 100% mandatory, we have found it is much easier to work on a folder when it can lay flat on your work area.
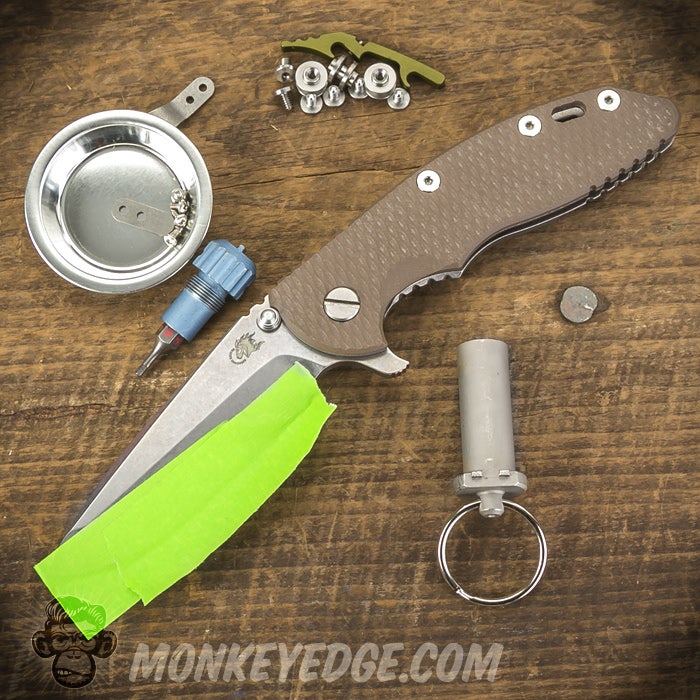
Tape over your cutting edge with masking tape! We know what you are thinking that you are super cool and safe and such and don’t need to worry about it. Trust us, these things can bite! Nobody ever plans on getting cut. It takes two seconds and costs nothing.
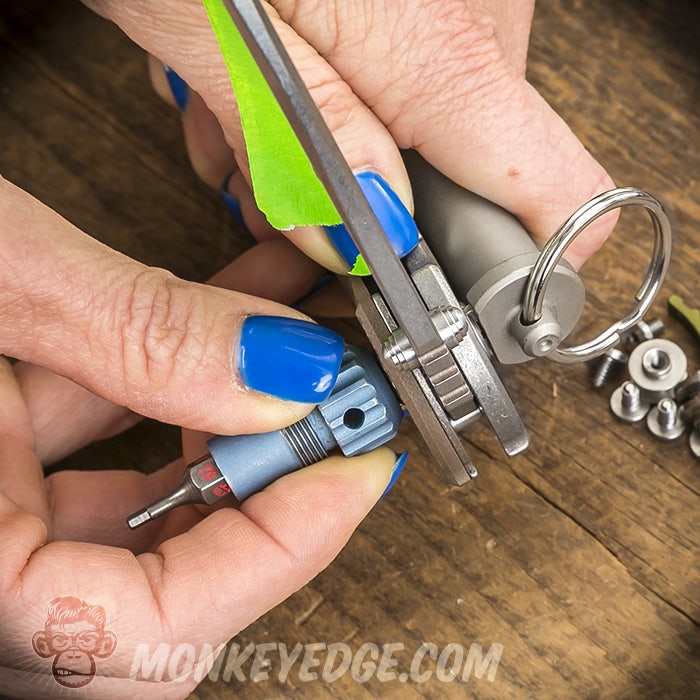
This is the grip we use to “pin” the spanner side of the Armorers Kit to the side of the frame. Notice how her thumb is also in the choil which keeps the blade from pivoting during the process. Also, we like to keep the blade open at this about 90 degree angle throughout the process. If you keep your blade closed, the knife kind of ‘falls in” on itself. If open, when you get to the final disassembly step, the lock will now interface with the blade tang in funky ways.
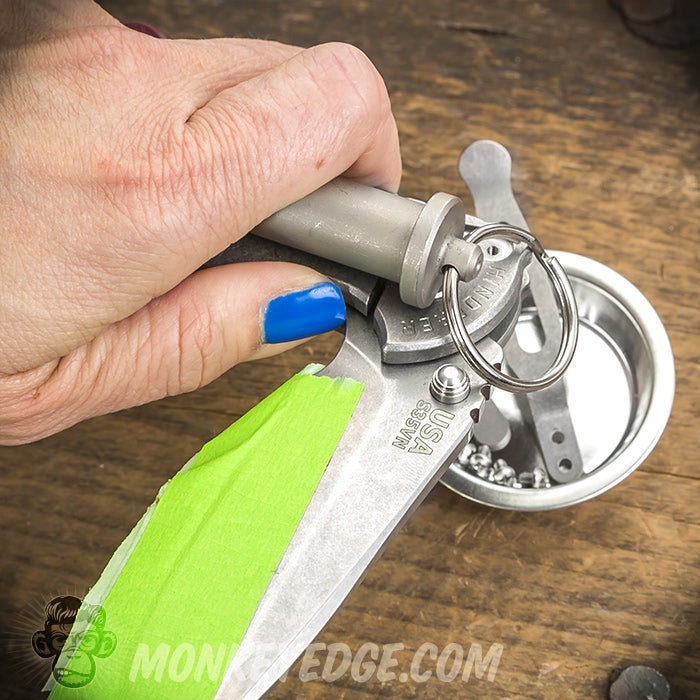
Then use the other half of the Armorers Kit to loosen and remove your pivot screw. Again, having the right tool is nice. Cause you can bugger up your pivot if you have flat head screwdriver that is not the exact size.
This is where removing the clip and filler tab comes in kinda handy. Just put the knife flat on your work area and remove the scale/frame screws.
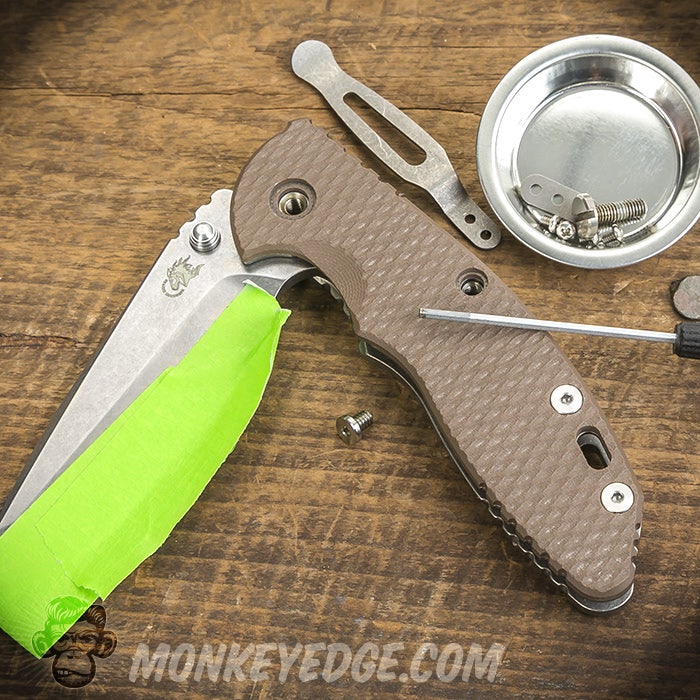
Pop off the titanium liner and you are good to go. Also, be careful of that little stop pin near the knife pivot. It likes to fall out and roll strange places as it is not held in place.
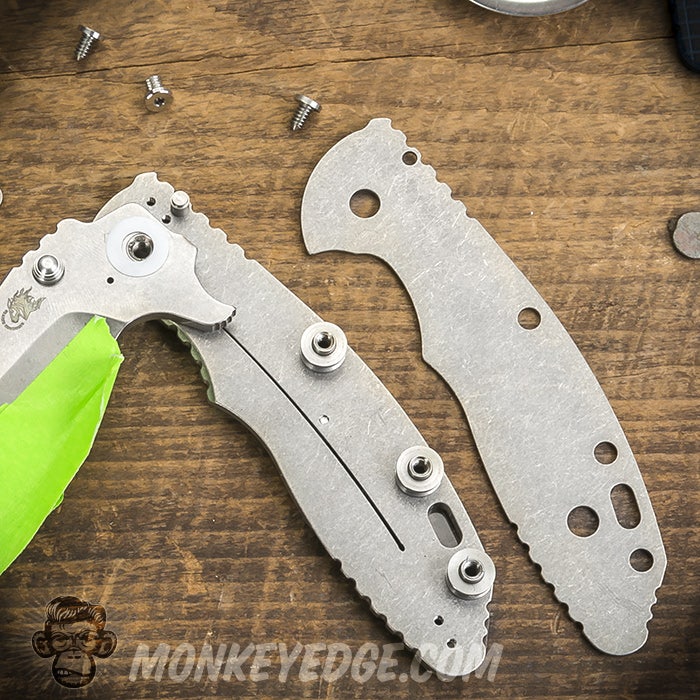
Here is all the hardware you will be removing from your knife that you will NOT use after conversion, so just put them aside in a baggie for storage:
3 x XM-18 stand offs
3 x XM-18 handle nuts
3 x XM-18 scale screws
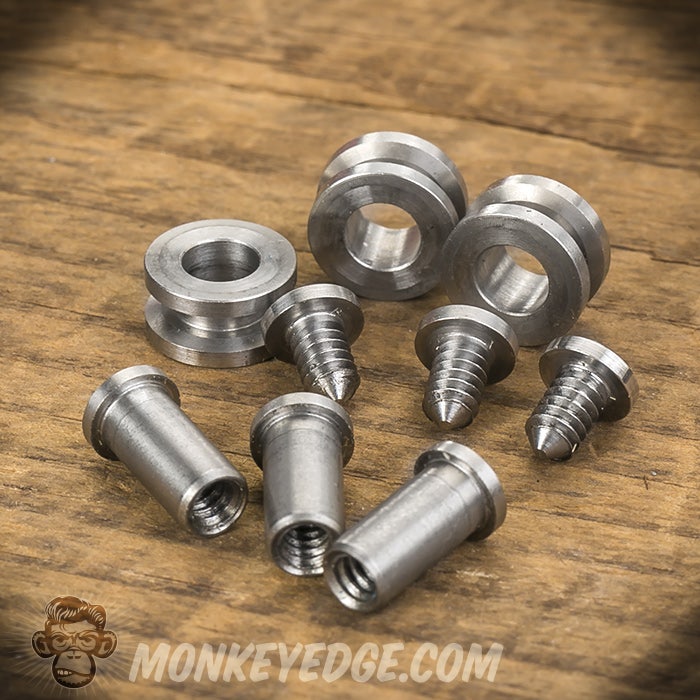
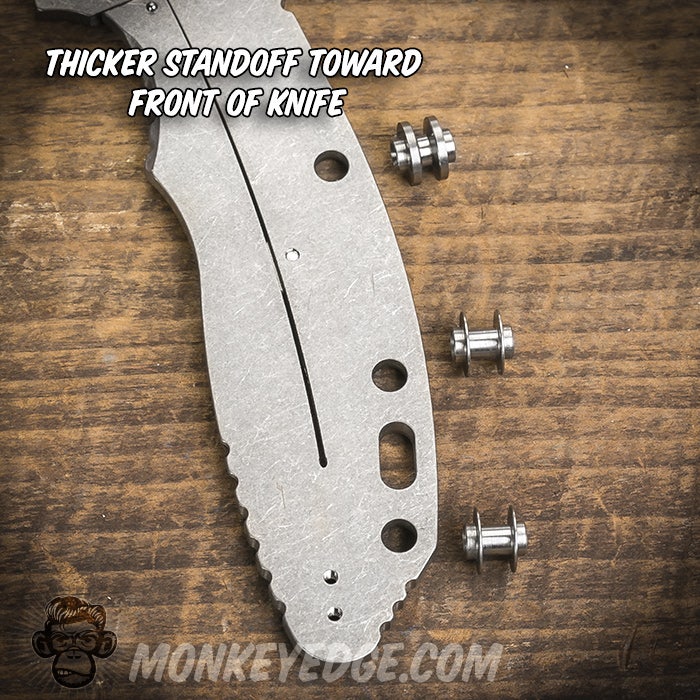
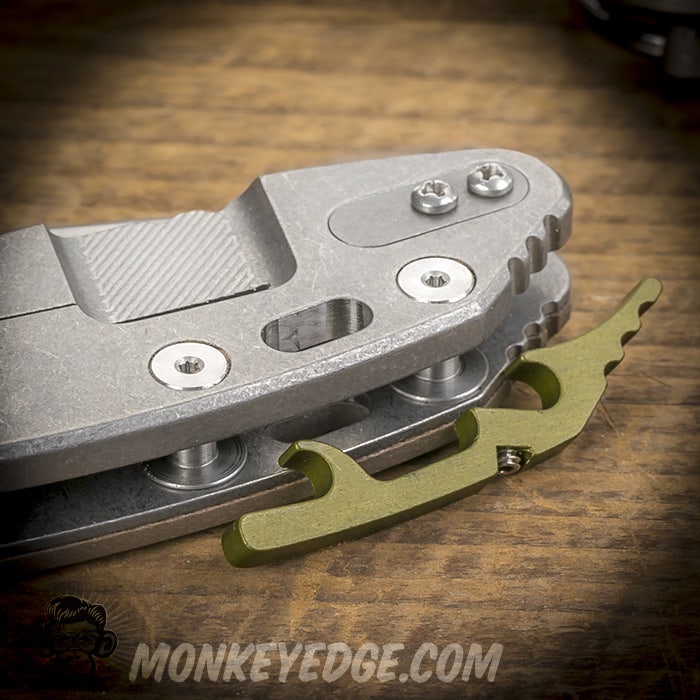
Your HMBS kit will have three new stand offs. One ‘thicker’ and two ‘thinner’. Rather than handle nuts, these new standoffs are screwed from both sides of the knife with the 6 new screws included with the kit (your ‘old’ XM-18 screws are NOT compatible with the HMBS).
ATTENTION (DANGER): Do NOT use LocTite or any thread locking type substance on your Hinderer scale/frame screws! Doing so is not necessary and Hinderer Knives will not fix a knife that has been LocTited down.
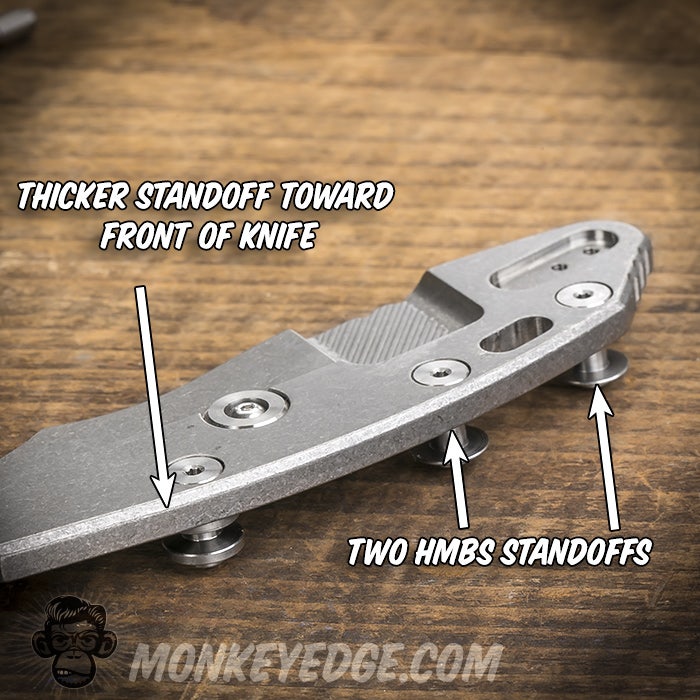
- The thicker standoff goes toward the front of the knife
- The two thinner ones go in the middle and rear positions
- Screw them to the lock side of knife using your T6 torx driver
Now we are ready to start putting her back together.
- Re-insert the female portion of the pivot
- Use the smaller diameter teflon washer
- Re-insert your stop pin
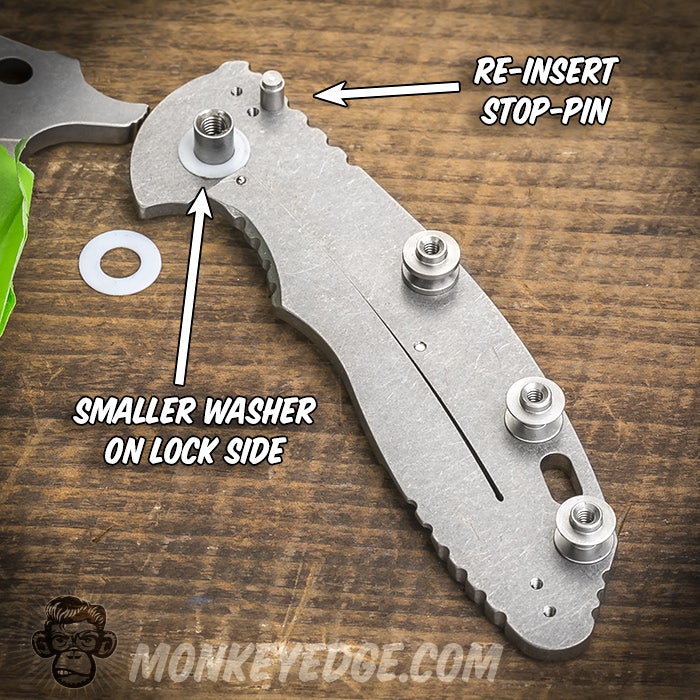
Place the titanium liner back on and hold it down while slipping your scale back on.
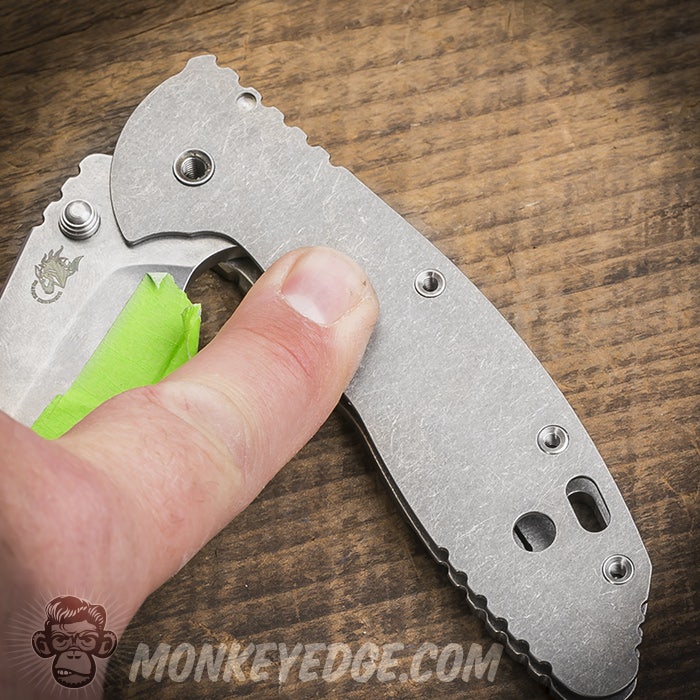
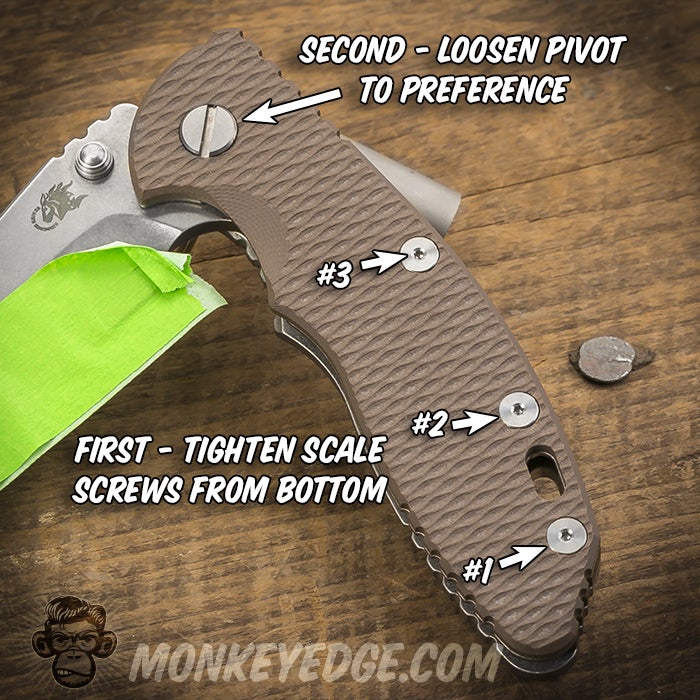
- First - thread in your scale screws just a little bit to center the scale and keep it from moving (remember NO LOCTITE!)
- Second - tighten your pivot screw. Snug it down tighter than you would for using the knife. Not ‘gorilla’ tight, but nice and snug. It IS alright to use a tiny bit of LocTite on your pivot screw.
At this point you will have a very tight pivot and very loose scale screws.

Tighten up your scale screws starting from the bottom of the knife. Again, snug, but not gorilla tight.
Now, loosen your pivot screw to your carry preference.
Just re-attach your clip and filler tab using your #1 phillips head screwdriver. No need for LocTite on these either!
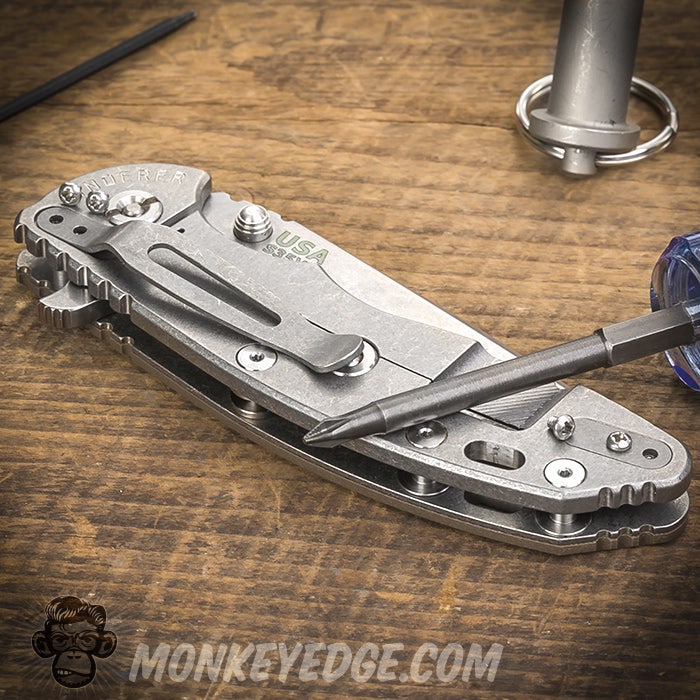
BOOM! You are now all HMBS man! Just slide your backspacer of choice on there!
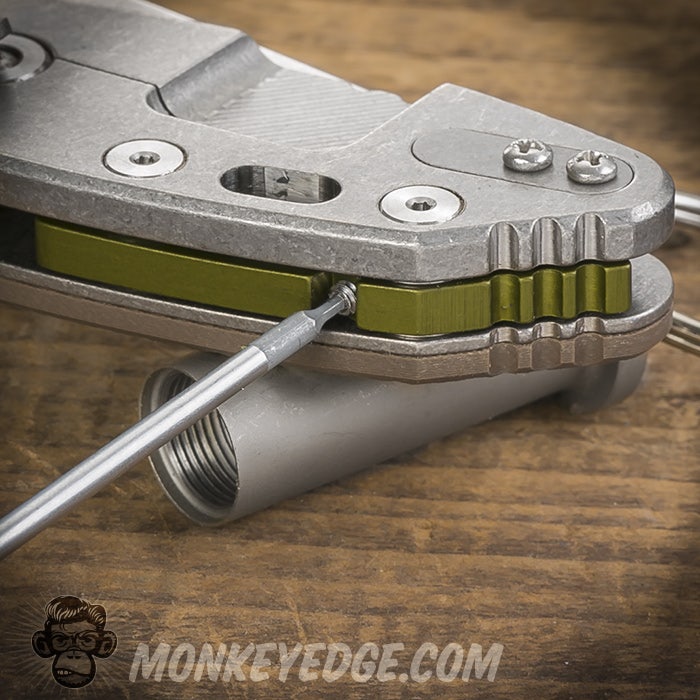
Use the .050 in hex driver to tighten up the set screw on your backspacer.
Now, sit back, relax, pour yourself a drink, and marvel in the awesomeness of your ultra-customizable, precision made in the US of A, Hinderer XM-18! Rick has a bunch of plans for some ultra cool backspacers and now you will easily be able to change them out with just a quick screw!
